

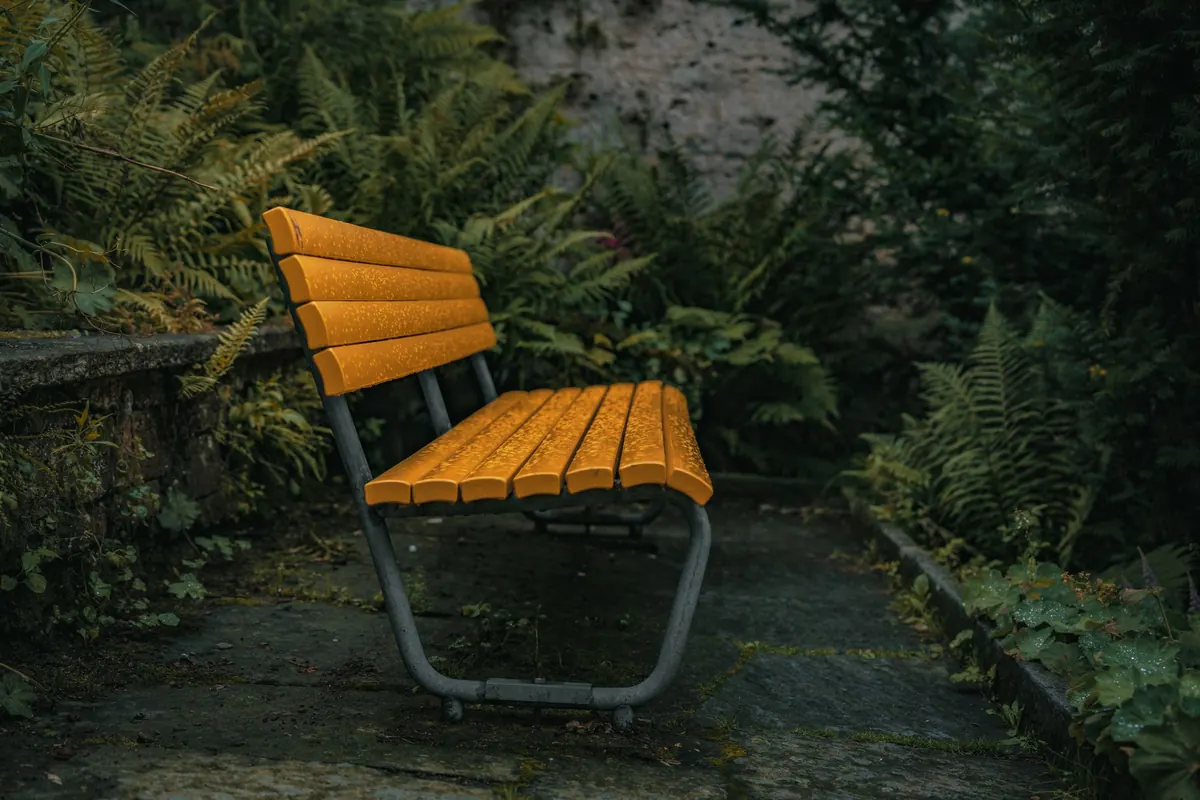
A wooden bench earns its place in a garden slowly. It becomes the spot where you drink your first coffee of the day, where you sit to pull your boots off, where someone always ends up after a barbecue. Then autumn arrives, the rain sets in, and the bench quietly turns green at one end and grey everywhere else. By March it looks tired, and by the following winter the legs are soft at the base.
None of that is inevitable. An hour or two of work in early autumn, plus a few minutes here and there through the winter, will keep a decent hardwood or softwood bench solid for years. Here is how to do it properly.
What a British winter actually does to timber
It is not the cold that damages wood so much as the water and the freezing. Rain soaks into the grain, particularly at the end grain of the legs and armrests, which drinks moisture like a straw. When the temperature drops, that water expands as it freezes, prising the fibres apart. Then it thaws, refills, and freezes again. Repeat that a dozen times over a winter and small cracks become open splits.
On top of that you get the damp, still air that never quite dries anything out. That is what algae and black mould need. Meanwhile, low winter sun bleaches bare timber to a silvery grey, which is harmless in itself but means the surface is no longer protected by anything at all. Timber that stays wet and unprotected is also where rot gets a foothold, usually at the feet, where the legs meet the ground.
Clean it before you treat it
This is the step people skip, and it is the reason finishes fail. Anything you brush or wipe on top of dirt, algae or flaking old coating will peel away within a season. Work through this on a dry, mild day:
- Clear the bench of pots, cushions and anything else sitting on it, then brush off leaves, cobwebs and loose dirt with a stiff hand brush.
- Wash the whole thing with warm water and a little washing-up liquid, scrubbing along the grain with a nylon brush. A dedicated wood cleaner works well too, but ordinary washing-up liquid is fine for general grime.
- Rinse with a hose or a couple of buckets of clean water. Do not blast it with a pressure washer on a narrow jet; that drives water into joints and lifts the grain.
- For green algae or black mould, use a proprietary mould and mildew cleaner for timber, or a diluted household bleach solution. Wear gloves and eye protection, keep it away from plants and grass, and rinse the bench thoroughly afterwards.
- Leave it to dry completely, ideally two dry days, before you apply anything.
Repair the small things while you can
Once the bench is dry, go over it with a critical eye. Rock the frame gently to check for movement, and tighten any bolts or screws that have worked loose. If they are rusted, replace them with stainless steel ones — they cost very little and will not leave black stains running down the legs.
Test the timber with a screwdriver. Push the tip into the bottom of each leg and along the underside of the seat. Sound wood resists; rotten wood feels spongy and gives way easily. Small areas of soft wood can be treated with a wood hardener and filled, but if the base of a leg has gone properly soft, that leg needs cutting back or replacing. It is a job worth doing now rather than discovering mid-summer.
Lightly sand any rough patches, raised grain or grey, weathered surfaces with a medium grit paper, working along the grain. You are not trying to strip the bench back to bare wood — just to give the finish something to grip.
Pick the right finish
There is no single best product, but there are some clearly better and worse choices for outdoor furniture.
Oils
Teak oil, Danish oil and decking oils soak into the timber and feed it rather than sitting on the surface. They are easy to apply, easy to top up, and they let the wood breathe and move naturally through wet and dry spells. The trade-off is that they need redoing roughly once a year, and they offer only moderate protection against UV greying.
Stains and coloured preservatives
A semi-transparent wood stain or coloured preservative gives you oil's breathability with better UV protection and a bit of colour. If your bench is a pale softwood such as pine, this is often the wisest choice, as it hides the greying that softwood does so quickly.
Paint
Opaque paint gives the most protection and the neatest look, and it suits classic slatted benches. The catch is maintenance: once paint starts to flake, water gets behind the edges and you will need to strip and repaint properly rather than simply touch up. High-gloss varnish is best avoided outdoors — it cracks, lets water in, and traps it against the wood.
Whatever you choose, apply it on a dry day when the temperature is above about 10°C, and check that no rain is forecast for the next 24 hours. Work in the shade if you can; strong sun makes the finish dry too fast. Stir the tin rather than shaking it, brush thin coats along the grain, and pay extra attention to end grain and joints, which soak up the most. Wipe off any oil that has not sunk in after half an hour, then give it a second coat the next day. Put an old sheet under the bench first — drips on paving are a nuisance to shift.
Where it sits, and how to cover it
Position matters as much as product. Lift the bench off soil or paving with a couple of bricks or small blocks under the feet so air can move underneath. Move it away from dripping gutter downpipes, from walls that stay damp, and from under trees that drop sap and leaves.
If you want to cover it, use a breathable outdoor furniture cover that is designed for the job and tie it down so it does not flap and rub. Never wrap a bench in plastic sheeting or a tarpaulin that cannot breathe: condensation forms underneath, and you will find mould and black staining in spring. If you have space in a shed or garage, storing the bench for the winter is the best protection of all — stand it on pallets or blocks rather than straight on a concrete floor, and leave a gap from the wall. When snow settles on a bench that stays outside, brush it off with a soft broom rather than letting it sit and melt into the joints.
A simple routine to see it through
Once the autumn work is done, a quick monthly look is all it takes. Check for standing water in the joints or on the seat, tighten anything that has shaken loose after a storm, and clear leaves that have collected around the feet. In late winter, look again for new cracks or soft patches. Then, when spring arrives, give the bench a wash and a fresh coat of oil or stain, and it will be ready for the first warm afternoon.
Treat it as half an hour of garden maintenance rather than a project, and the bench you bought years ago will still be the best seat in the garden when the next winter is over.
Photo: Baran Robin / Pexels